Early this week a friend of mine (
Spazeboy) emailed me a link to this device, called a "Spider Brace" (
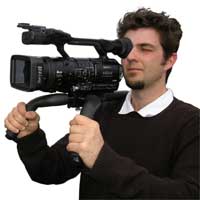
www.spiderbrace.com) that allows you to support a mid-sized DV camera without getting tired. The heavier Canon GL-2 gets very shaky after I hold it for more than 10 minutes, compared with my ultra-lightweigh Panasonic GS-150.
The only problem is, it costs about $60.
I love home-built video gadgets, and I figured I could do better, so I went to Home Depot to look at some PVC piping and fittings.
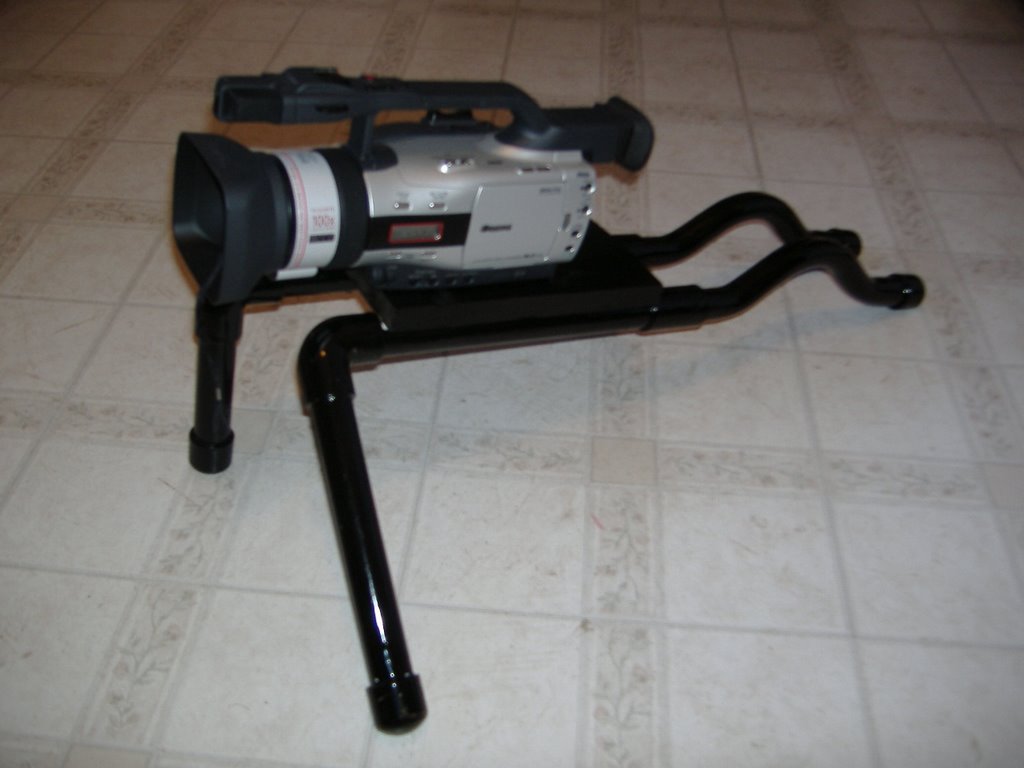
Here's what I came up with...the fantastic $13
"Bob-o-Brace 2000"!
Here's how I built it - I purchased the following items from Home Depot:
(all PVC is 3/4")
1 3/4" x 10' pipe $ 1.82
2 PVC RUN TRAPS (@ 1.37) 2.74
2 90 deg. PVC elbow (@ .25) .50
4 PVC Caps (@ .22) .88
2 PVC Couplers (@ .23) .46
1 1/4" x 1" Steel Wingnut .88
I used eight 1.5" drywall screws, a scrap piece of pine board (4.5" x 8.5" x .75"), and a can of PVC glue that I had in the basement; those items probably cost about $6 or $7, so the cost of this entire project should be about $12 or $13.
I started with the pine board, then I cut two pieces of PVC pipe with a hacksaw to about 11" each; I made the one on the left a little shorter since the device would be on my right shoulder, I figured my left arm would have to come across my body to hold the brace.
I used masking tape to hold the two pieces of pipe along the edges of the board, then I drilled a 1/8" hole through the pipe and into the wood. I screwed in a drywall screw, then drilled and screwed in three more screws on both pipes. I ended up with about 1" of the pipe overhanging each end of the board.

Then I fitted the two couplers to the back end of the board, and the PVC run traps to that. Then I capped them. DON'T GLUE THEM YET! The PVC pieces should fit snugly enough to hold together without the glue while you build this. You might want to change some lengths of the PVC pipe to perfect it, and with ten feet of pipe you can cut a lot of different sized pieces.
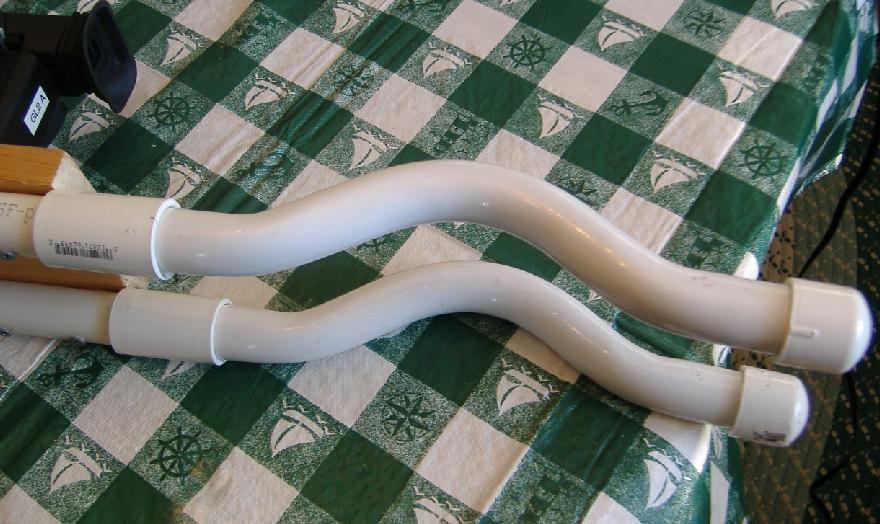
The "PVC run traps" are what really makes this thing work! They fit nicely on my shoulder and give the entire brace its stability. As soon as I found them in the PVC pipe accessories section of Home Depot, I instantly knew there were perfect for the job.

I mounted the right side 90 degree elbow in a verticle downward position, and put a roughly 5" piece of pipe in it. Then I mounted the left side elbow in a roughly 45" angle and cut a longer piece for my left hand.
I capped both pieces and adjusted the two front legs so when I placed the brace on a table, the camera is level (left-to-right level; it angles up about 20 degrees, which is what I want anyway, for use as a low angle camera platform).
I drilled a 1/4" hole in the board for the wingnut bolt to hold the camera in place, and made sure I liked the alignment of the camera and brace. Then I glued the pieces together.
One thing I wish I didn't do was glue the left hand leg into the 90 degree elbow. That way I could remove the leg and store it in a smaller area. But I can always saw the pipe just below the elbow and fit another coupler in there and leave it un-glued, so if it becomes a hassle I can fix it.

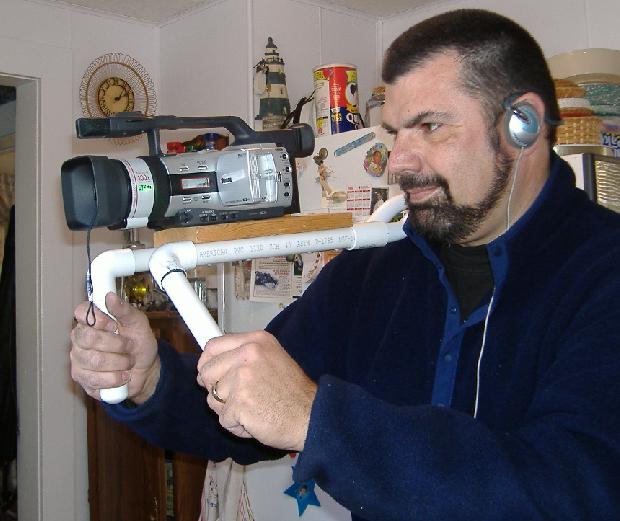
The last thing I'll do is paint the whole thing with black paint to make it look cool, but that's completely optional. The main thing is that it's really lightweight (about 1.5 lbs) and super strong.
And it works great!
 I haven't actually SEEN "Inland Empire" yet, but I know enough about Lynch to realize that there's not going to be any audience "spoon-feeding" in this latest flick.
 As expected, this movie will be filled with plenty of Lynch's trademark "weirdness"; the kind of faintly uncomfortable atmosphere that pervades many of his films.
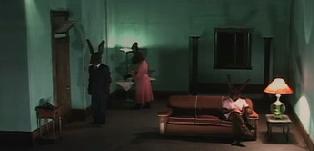 Ah yes, who doesn't love Lynch's rabbits? Between "Donnie Darko" and David Lynch, I'll never see rabbits as those cute little furrballs again. And speaking of "Donnie Darko", Darko-director Richard Kelly is also about to release his long-awaited "Southland Tales". It's going to be a wonderful year for weirdness.
 Laura Dern in a predictable moment of angst. Lynch shot this movie on video (not quite typical "consumer video" as is being reported, but also not the Speilberg super high-end stuff either; he used a $3,000 Sony PD-150, and I have no idea if he used any expensive lens) and I'm sure it'll show in places. But video also can add to the weirdness, by making the image "come alive" in ways that film doesn't.